Technical FAQ
Enable Single Sign-On (SSO)
UA Grantham recently transitioned to a new Single Sign-On platform, as part of our ongoing work to enhance information security. Single Sign-On is now required for accessing university-provided email and Blackboard, our learning management system.
To set up SSO, begin by reviewing these instructions, then go to myaccount.microsoft.com and login with the credentials provided via email separately. If you encounter any difficulties, please contact your Student Advisor.
Creating a bookmark normally can cause issues with you signing into GLife. We have outlined steps below on how to properly create a bookmark to GLife to avoid these issues.
 Chrome
- Navigate to https://glife.uagrantham.edu.
- To the right of the URL in your browser, click the star icon.
- Click the “More” button.
- Edit the name to what you would like.
- For the URL, erase what it has and add the URL https://glife.uagrantham.edu.
- Click "Save."
 Firefox
- Navigate to https://glife.uagrantham.edu.
- To the right of the URL in your browser, click the star icon.
- Edit the name to what you would like.
- Select the folder where you want the bookmark.
- Click "Done."
- Find your newly created bookmark, right-click on it and go to properties.
- For the Location, erase what it has and add the URL https://glife.uagrantham.edu.
- Click "Save."
 Edge
Edge
- Navigate to https://glife.uagrantham.edu.
- To the right of the URL in your browser, click the Star icon.
- Edit the name to what you would like.
- Select the folder where you want the bookmark.
- Click "Done."
- Find your newly created bookmark, right-click on it and go to "Edit URL."
- For the URL, erase what it has and add the URL https://glife.uagrantham.edu.
- Click "Save."
 Internet Explorer
- Navigate to https://glife.uagrantham.edu.
- To the right of the URL in your browser, click the star icon.
- Click the button “Add to Favorites.”
- Edit the name to what you would like.
- Select the folder where you want the bookmark.
- Click "Done."
- Find your newly created bookmark, right-click on it and go to properties.
- For the URL, erase what it has and add the URL https://glife.uagrantham.edu.
- Click "Save."
 Safari
- In the Safari app on your Mac, click the sidebar button in the toolbar, then click the bookmarks button.
- Enter the bookmark name in the search field at the top of the sidebar. You may have to scroll up to reveal the search field.
- For the URL, enter the URL https://glife.uagrantham.edu.
- Click the "Add" button.
If you have forgotten your username, please contact your Student Advisor at (800) 955-2527
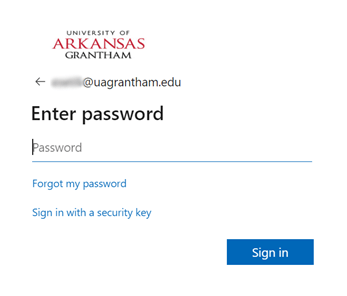
1. Go to Glife.uagrantham.edu and sign in
2. Click on “Forgot my password”
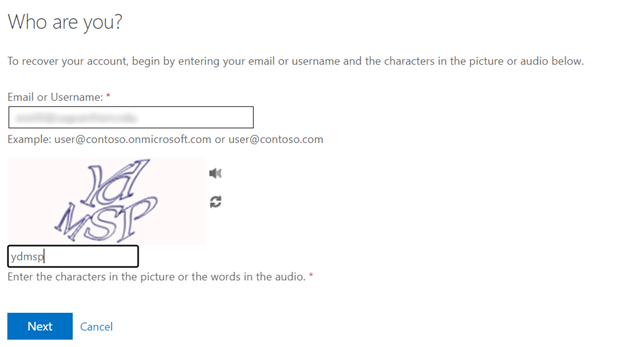
3. Enter your email address and the unique characters provided.
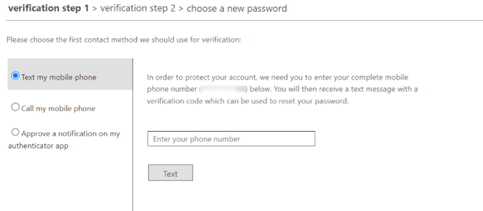
4. Choose a form of verification. You can choose text, call, or the Authenticator app.
5. After completing the verification steps, create your new password and click “Finish”
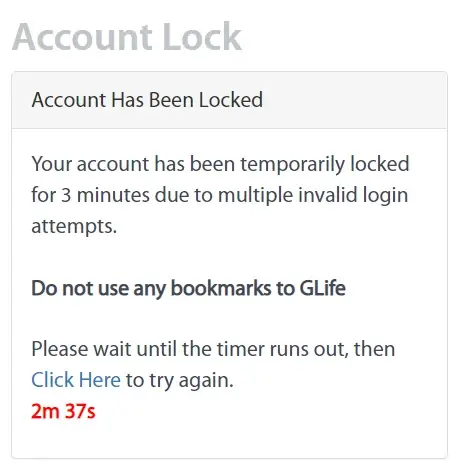
If you have found yourself on the “Account Lock” page, your account has been locked for too many incorrect login attempts. Don’t worry, this is a security feature to keep student accounts secure and it will unlock in three minutes. Once this time has run down, you may attempt to log in again.
Attempting to log in before the timer runs down will reset the lockout time to three minutes.
I don’t remember my username and/or password.
- To retrieve your username, you can go to the Forgot Username Page.
- To reset your password, you can go to the Account Management Page.
I know I am using the correct username and password.
- You can receive the lockout page if you are using a bookmark to GLife.
- When logging into GLife, there is session data attached which can be transferred to your bookmarks.
- We recommend not using bookmarks or using a bookmark that just goes to the https://glife.uagrantham.edu without any data attached to the URL.
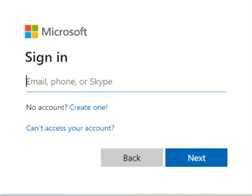
1. If you are a current student, login to your Microsoft account at office.com
2. Click on the “Sign in” Button
3. Sign in with your Microsoft Account Credentials.
4. On your office.com home page, click on “Install Apps”
5. Select “Microsoft 365 Apps”
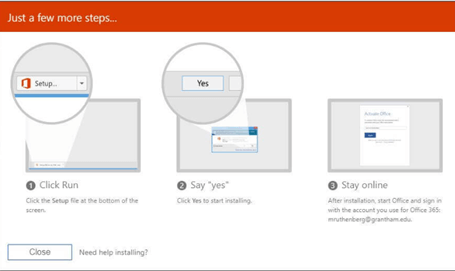
6. Your software will now download, wait for the download to complete and then open the file.
7. Follow the instructions to install.
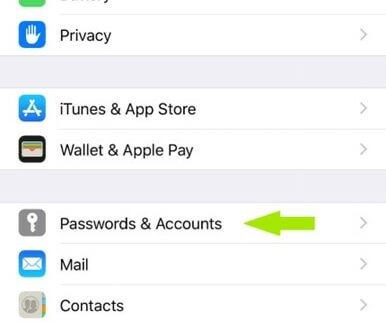
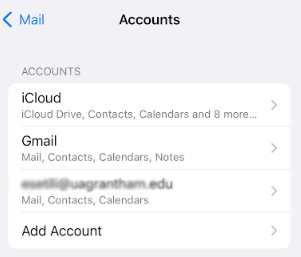
1. On your iPhone go to Settings > Passwords & Accounts.
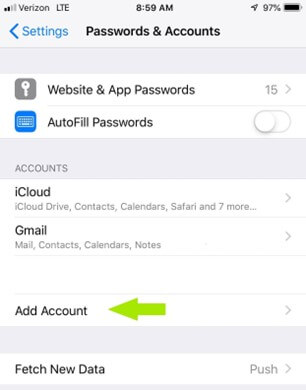
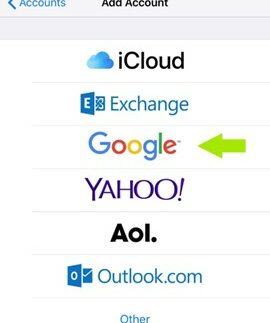
2. Select Add Account.
3. Select Google.
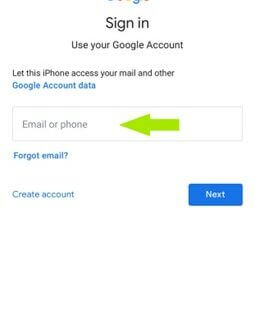
4. Enter your UA Grantham email address in the indicated field and tap Next.
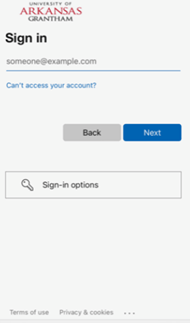
5. You will be redirected to the Microsoft account login page. Enter your Microsoft username and password and tap LOGIN.
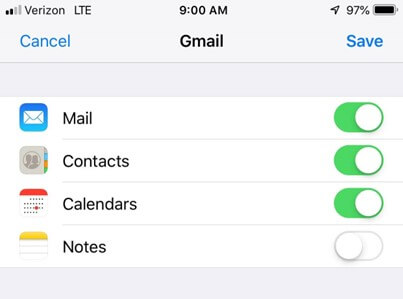
6. Select which UA Grantham items you want to sync to your iPhone (Mail is required to sync your email messages but the other items are optional) and tap Save.
7. In the Mail app, you will now see your newly synced UA Grantham email account at the bottom of your inbox list (below any previously synced accounts).
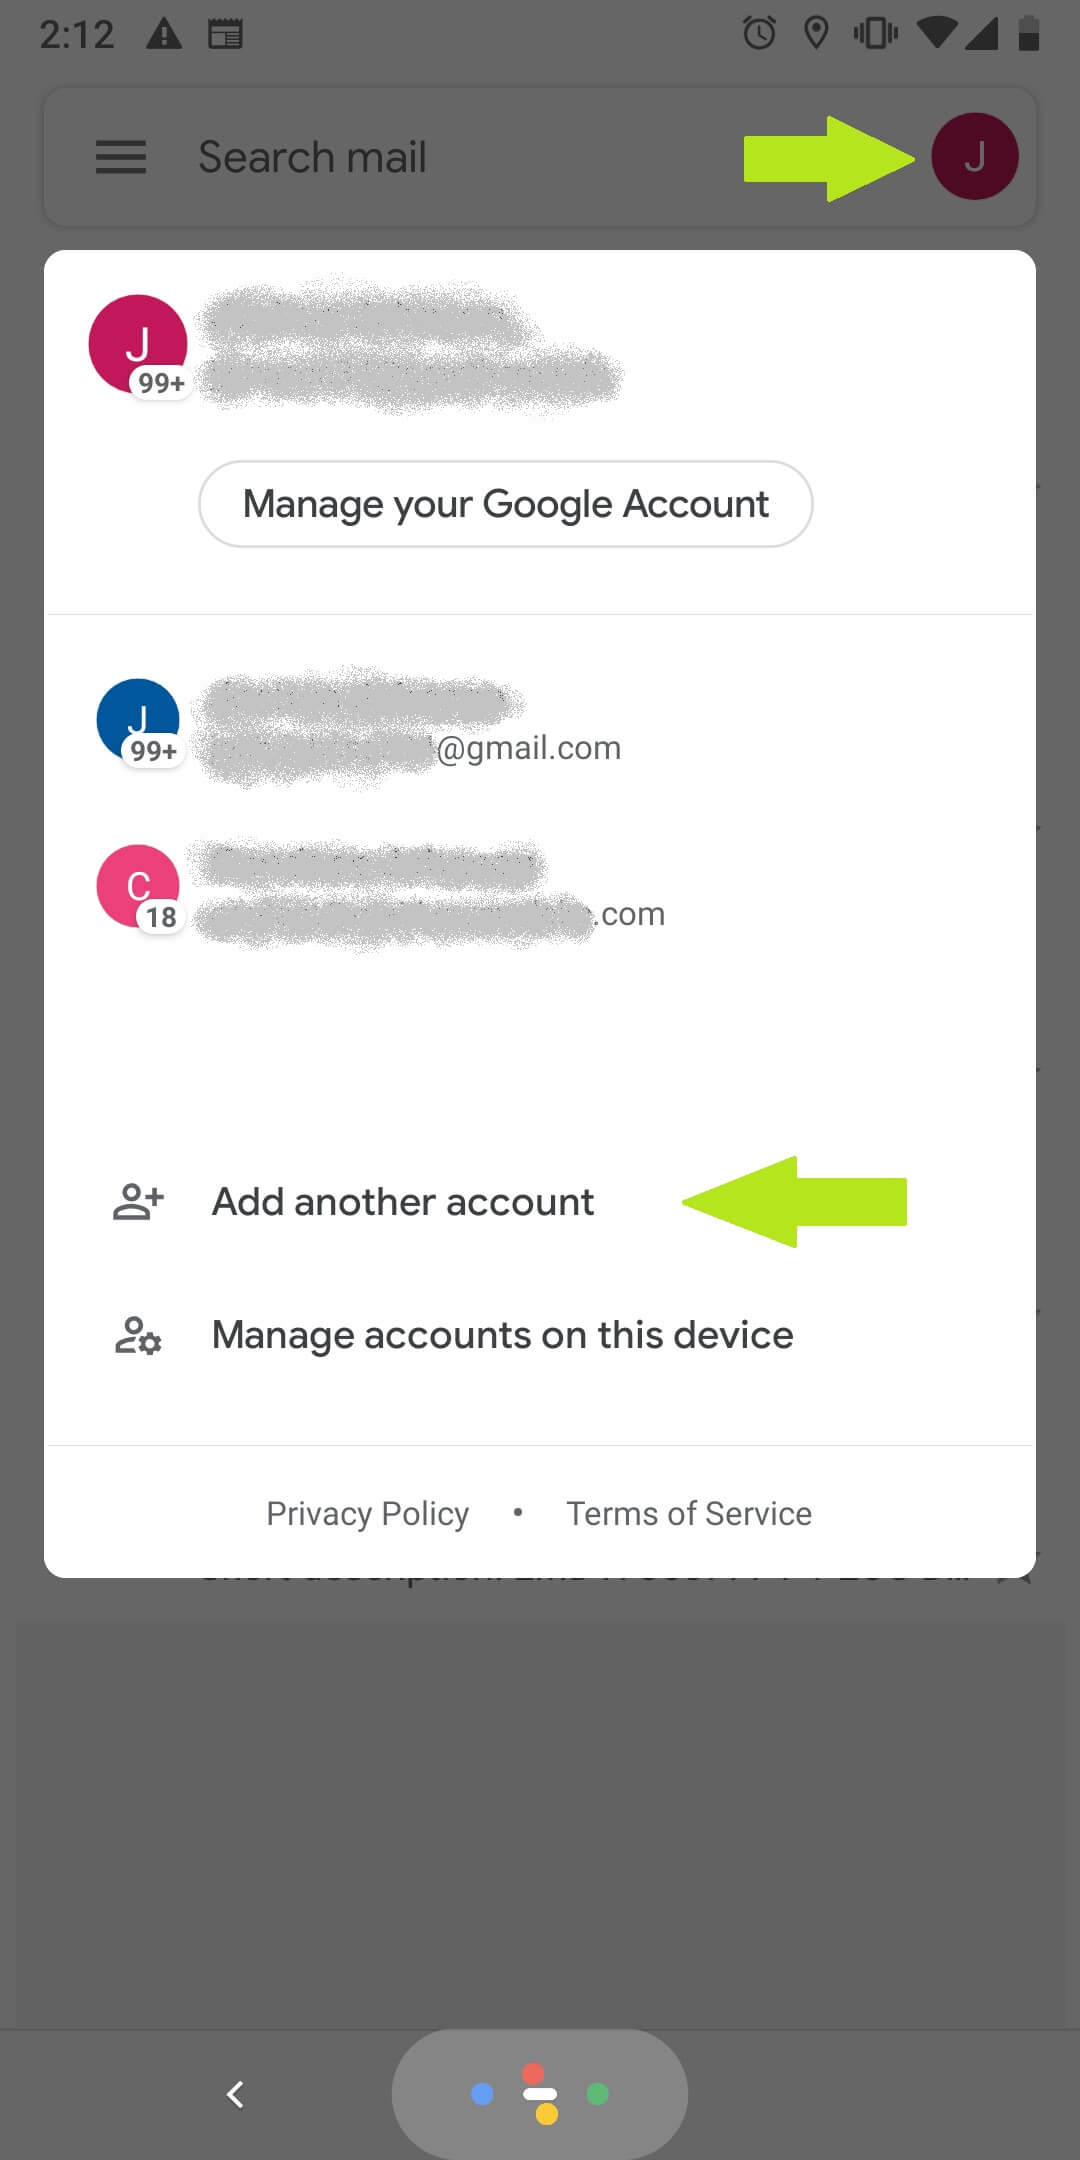
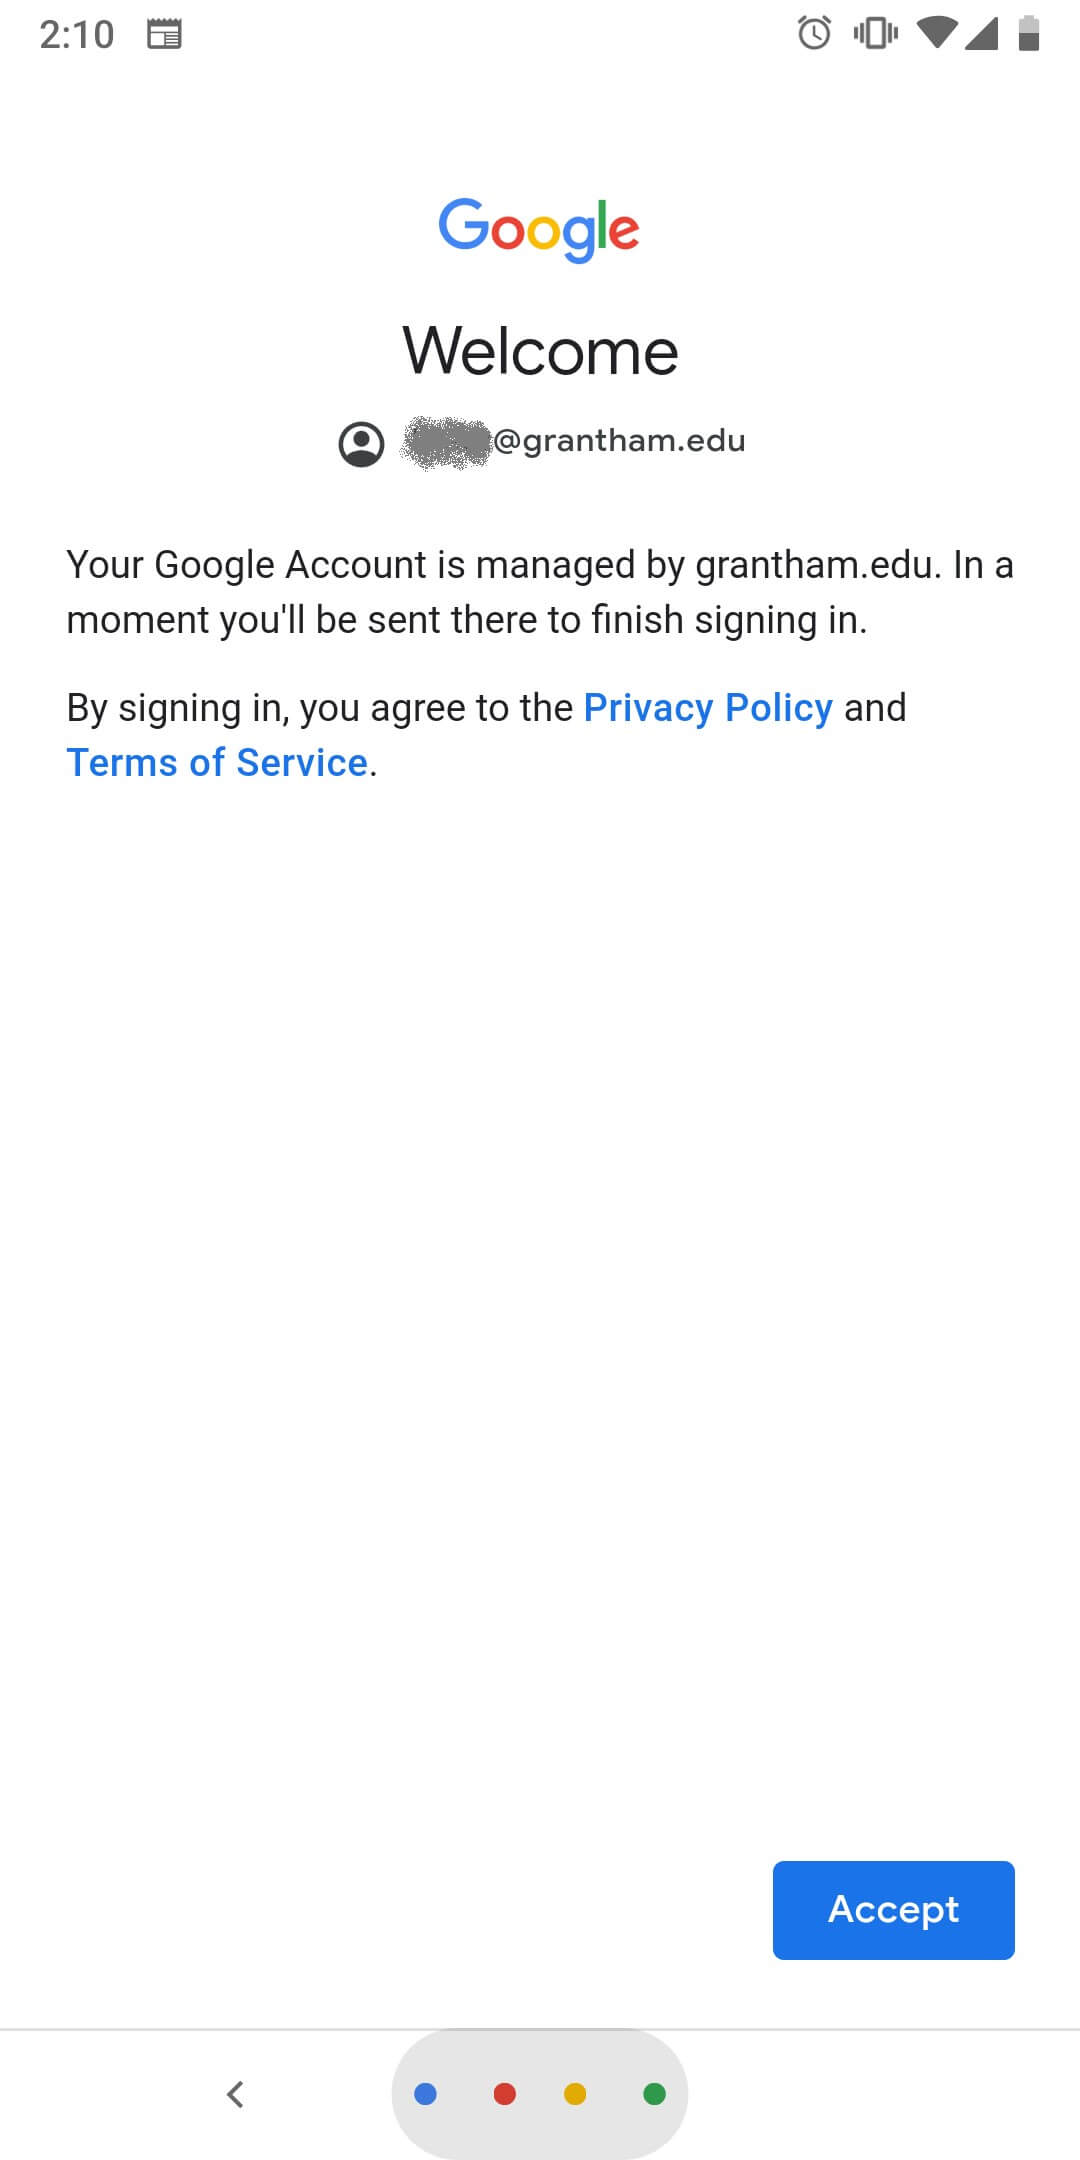
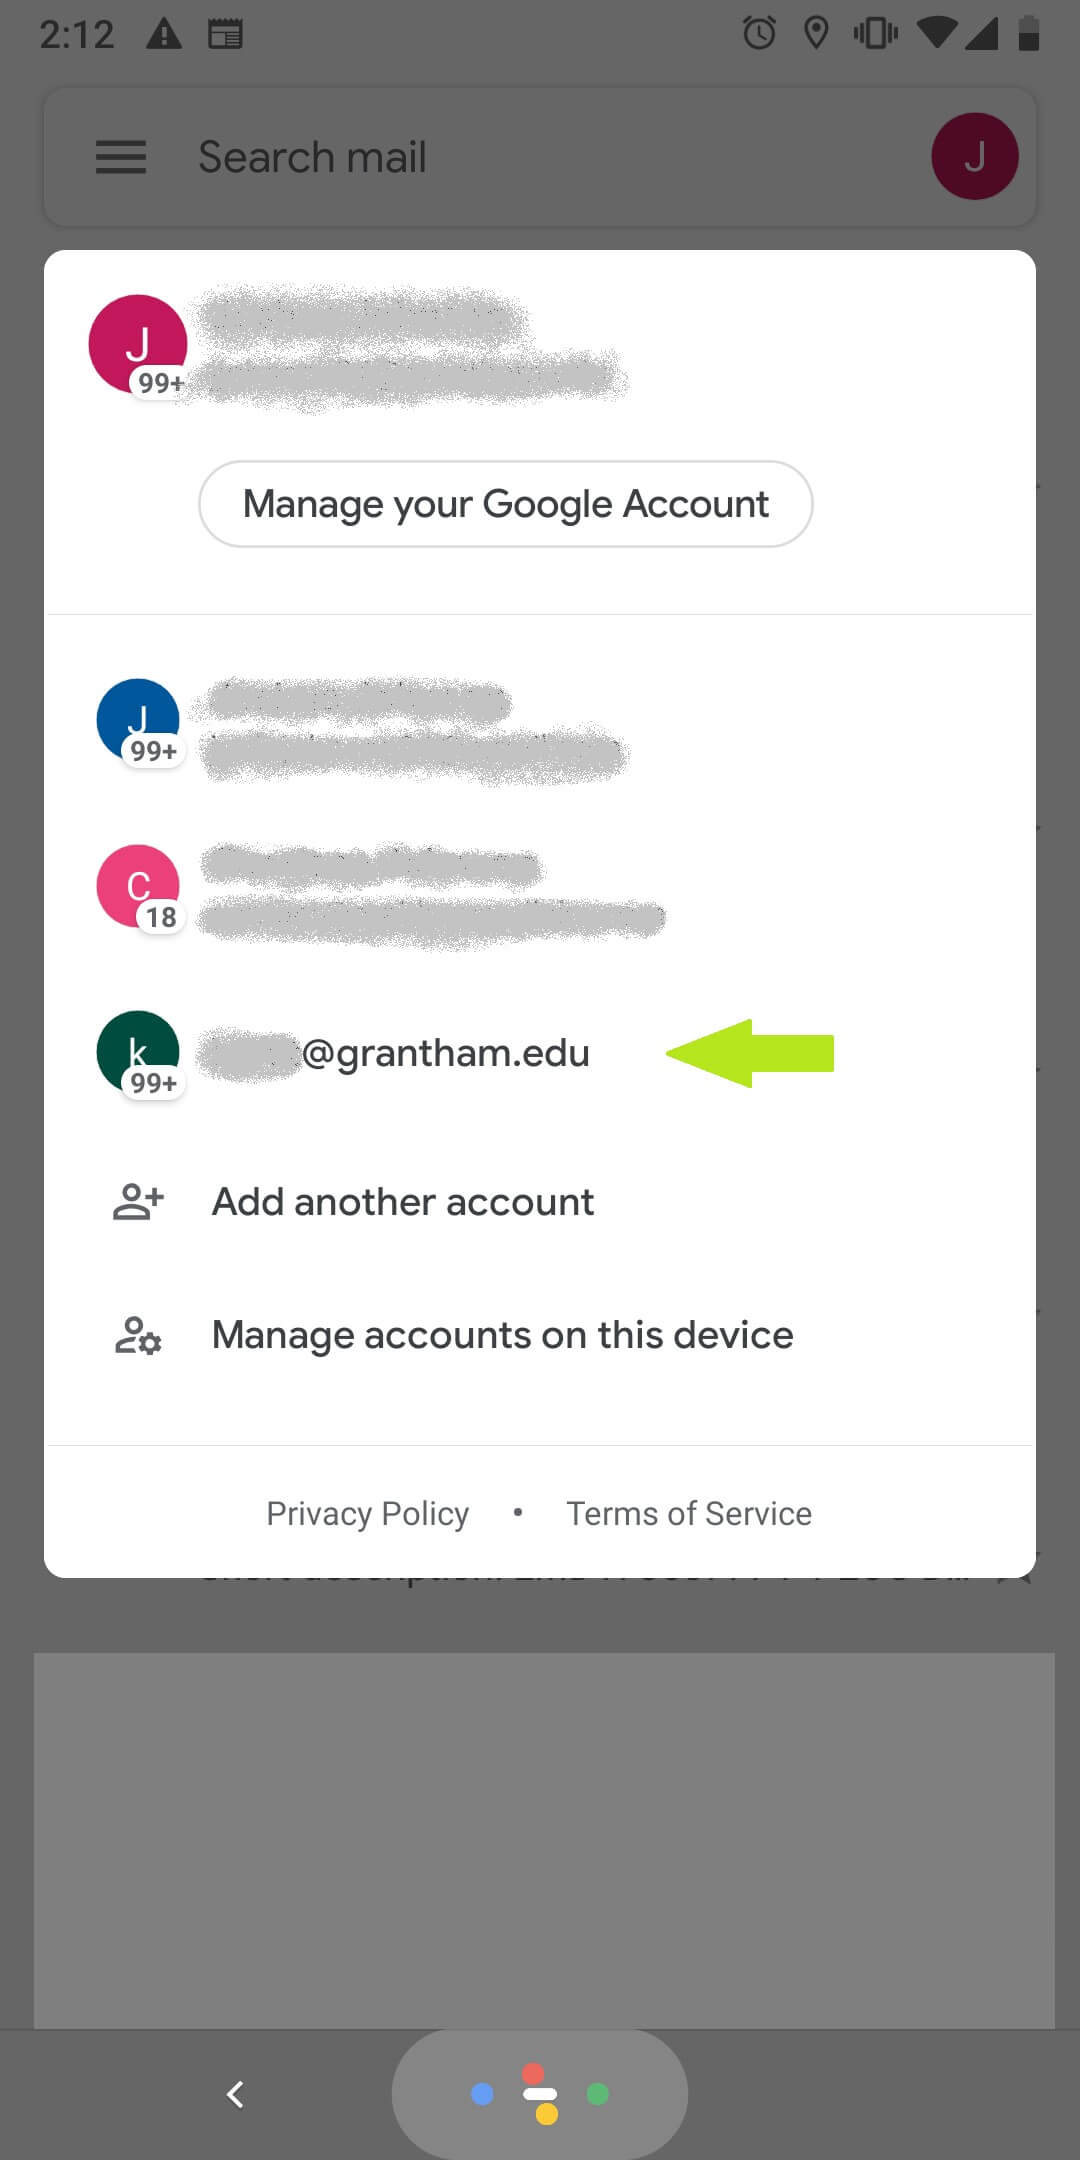
- From inside your Gmail app, tap the account icon in the top right corner. Then tap Add another account.
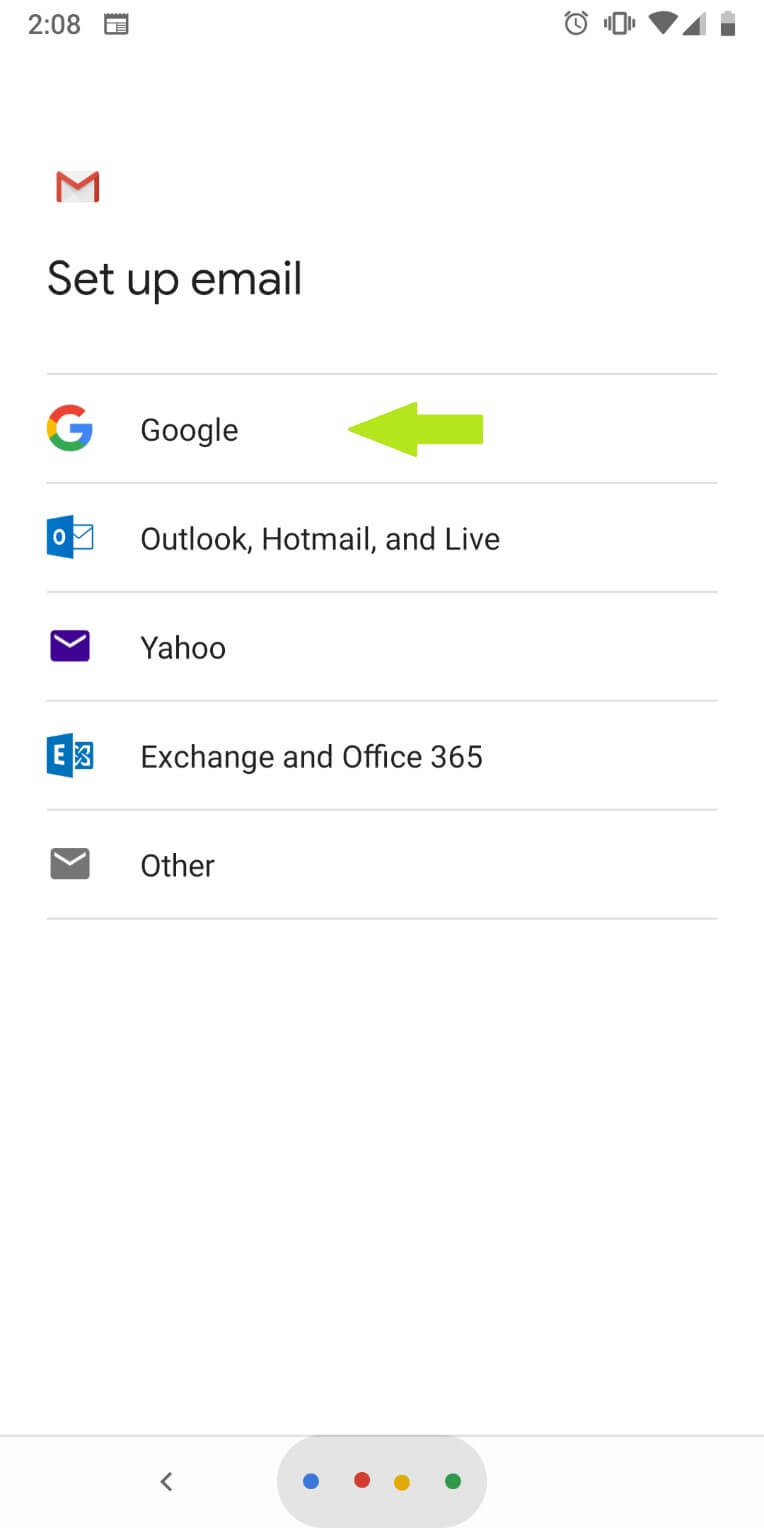
- Select Google from the list shown.
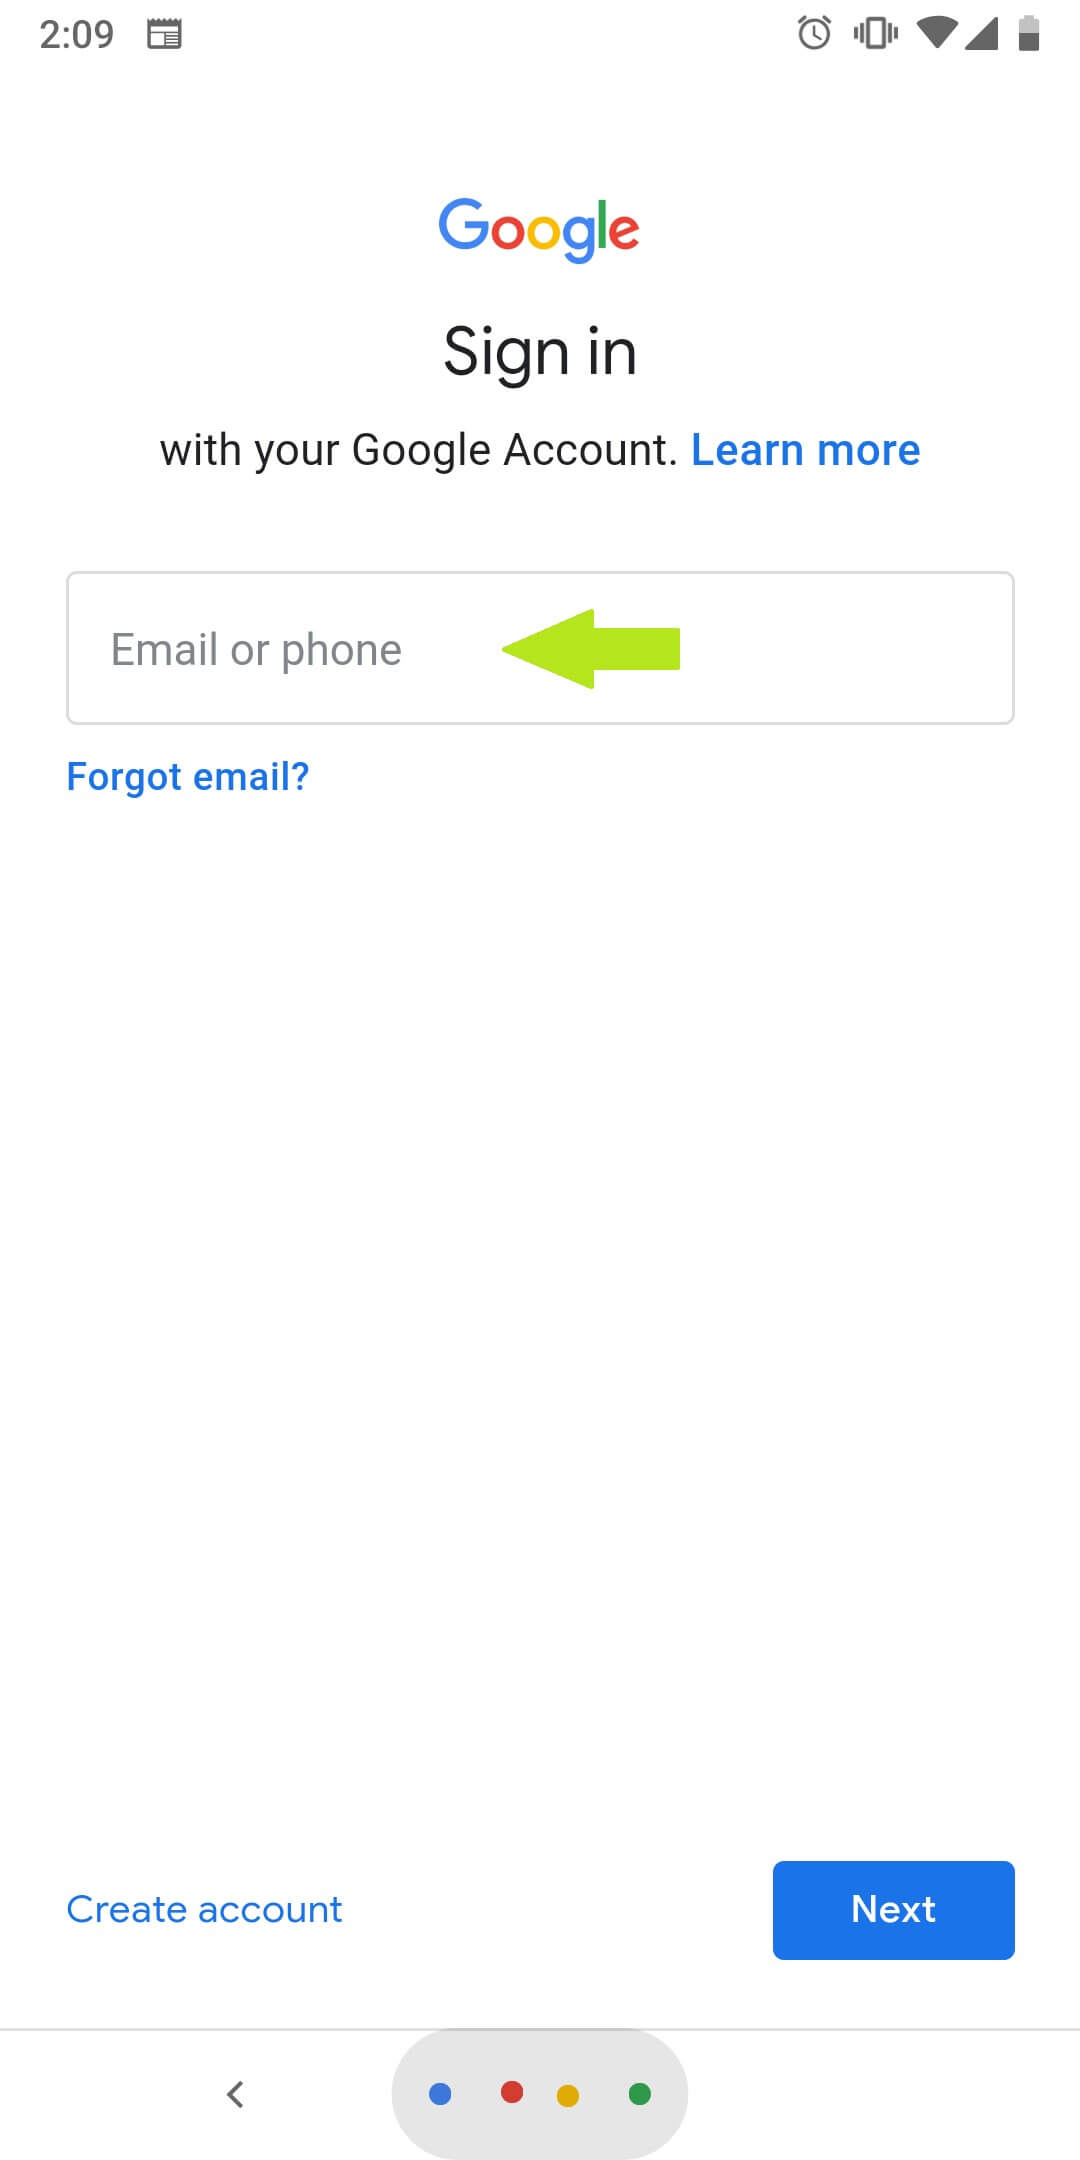
- Enter your Grantham email address in the indicated field and tap Next.
- Read the notice and tap Accept.
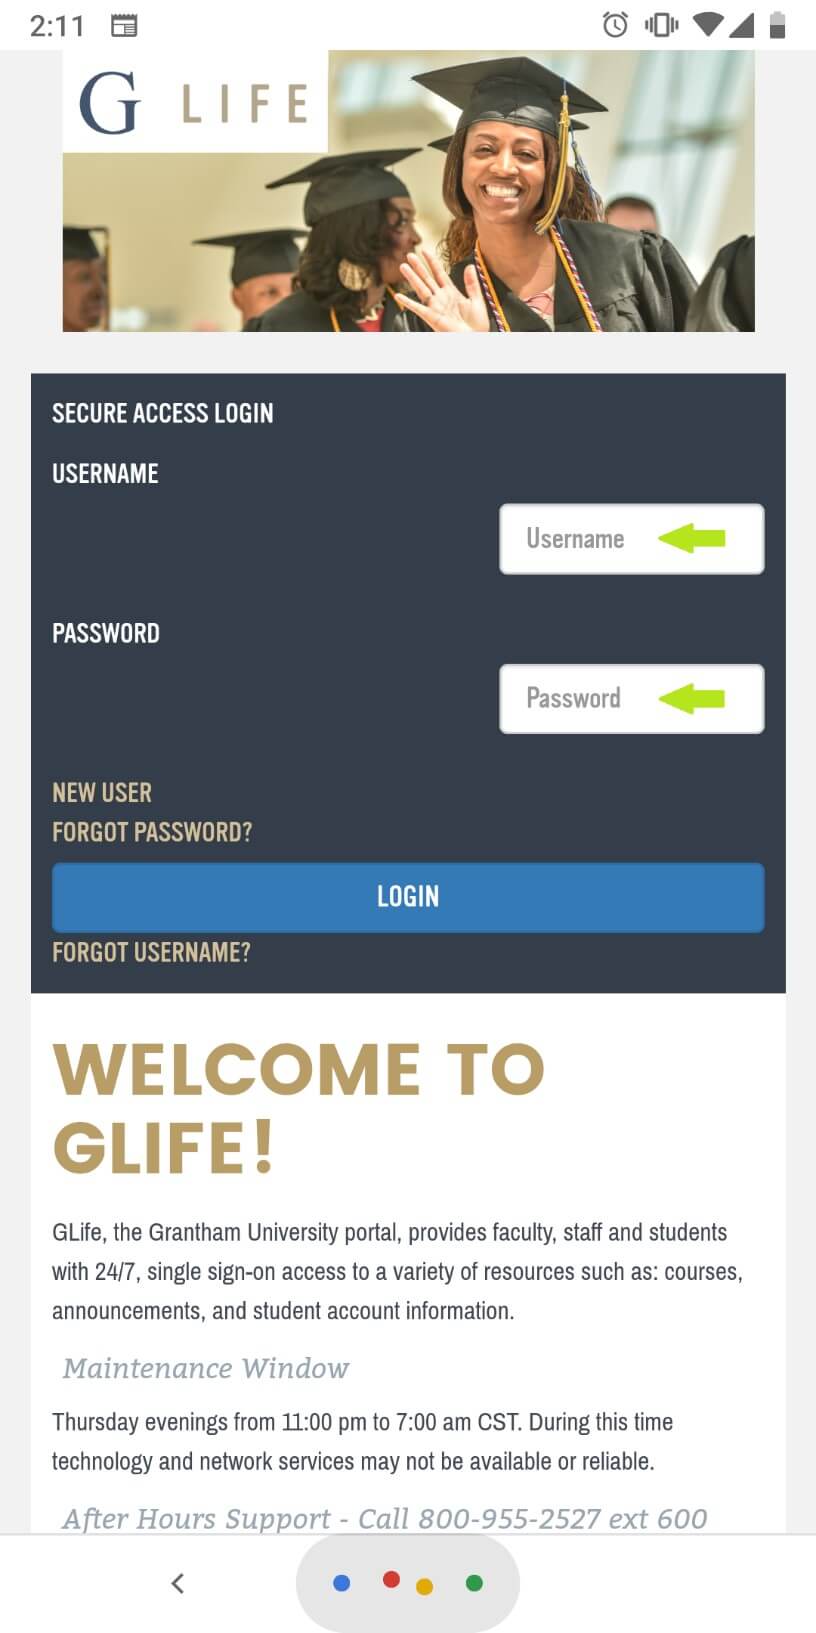
- You will be redirected to the GLife home page. Enter your GLife username and password and tap LOGIN.
- You will now see your newly synced Grantham email account at the bottom of your account list (below any previously synced accounts). Tap to access the account. You will be able to switch between your synced accounts at any time by tapping the round icon in the top right corner to access the account list.
How to Clear Cache and Temporary Internet Files
Google Chrome(using Version 75.0.3770.142)
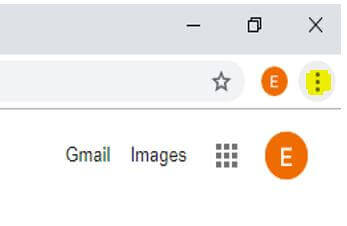
- Click on the settings option on the top right of you Chrome browser.
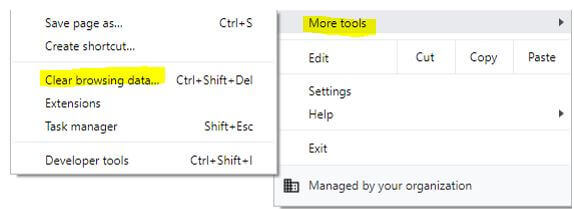
- Hover over “More Tools” and then select “Clear Browsing Data.”
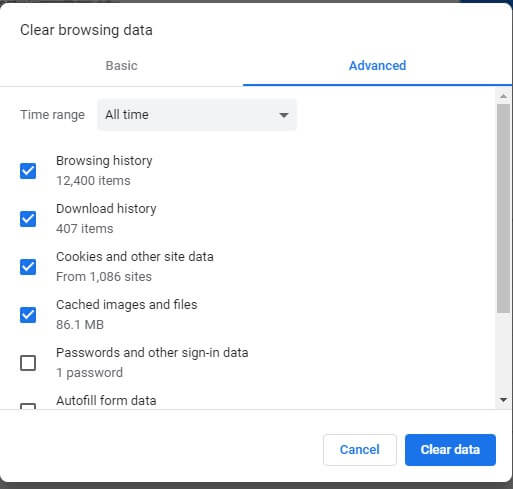
- On the following pop-up, select “Advanced,” set the time range to “All Time” and checkmark the first four boxes.
- Select “Clear Data.” You will be taken to the main settings page of Chrome once all cache and temporary internet files are cleared. Once complete, close and reopen your browser to begin a new session.
Firefox (using version 68.0.1)
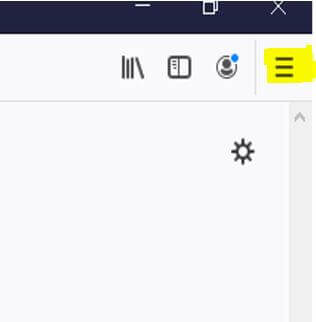
- Click on the settings menus.
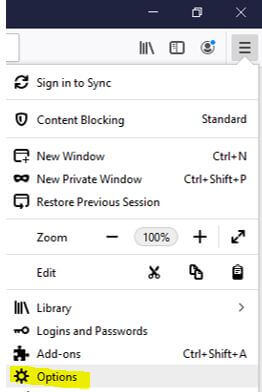
- Select “Options.”
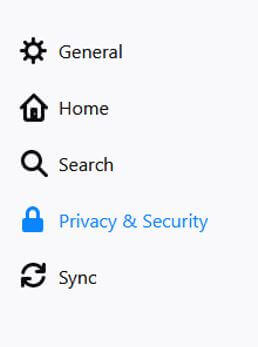
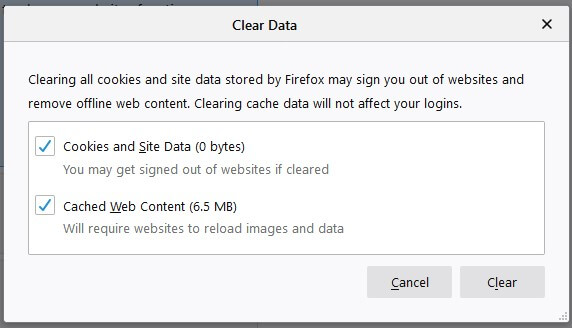
- Click on “Privacy and Security”, locate “Cookies and Site Data” and select the option to “Clear Data”.
- Select “Clear.” A confirmation will be displayed. Select “Clear Now” from the confirmation.
Internet Explorer (using version 11.615.17763.0)
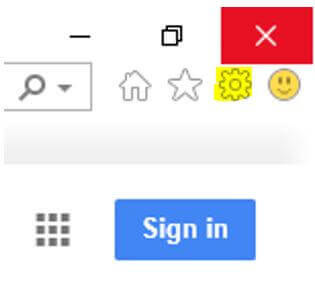
- Select the settings wheel.
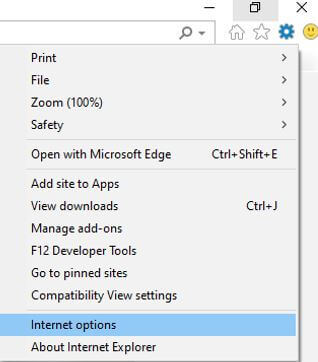
- Select “Internet Options.”
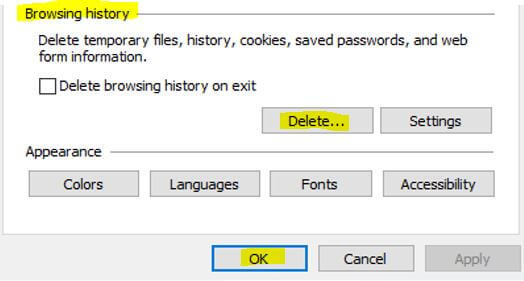
- Within the Internet Explorer options, locate “Browsing Data” and click on “Delete.”
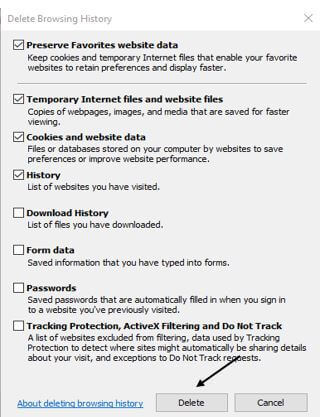
- Ensure the following options are selected and then click “Delete.”
Microsoft Edge (using version 44.17763.1.0)
- Click on the settings option on the top right of the browsing session.
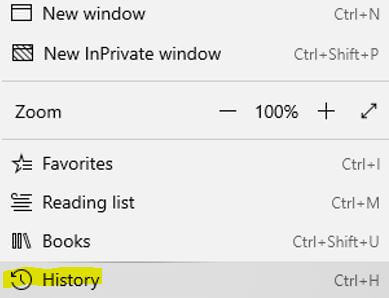
- A new window will appear. Select “History.”
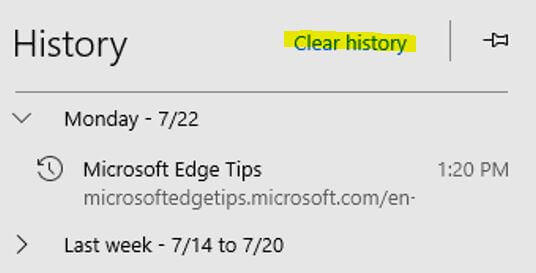
- Select “Clear History.”
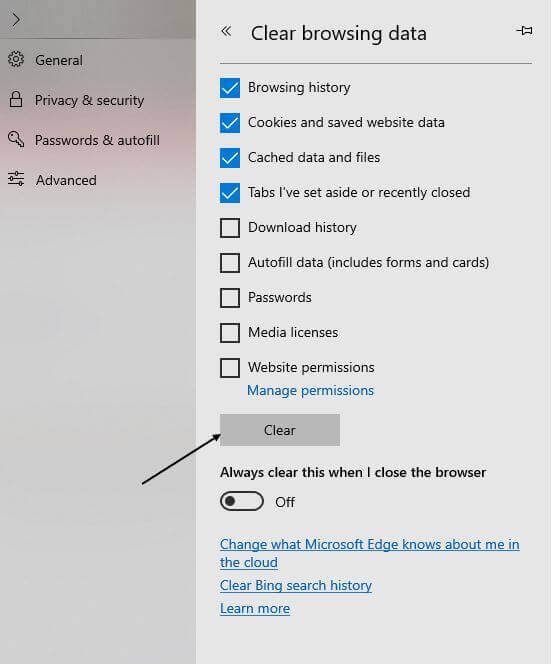
- Ensure the first four options are selected and then click “Clear.” You will be given a confirmation message when temporary internet files have been cleared.
Safari (using version 12.0.3)
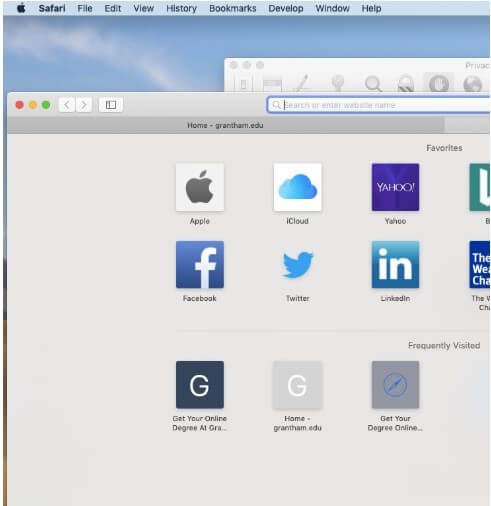
- Open your Safari browser.
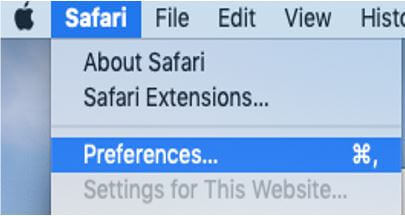
- Select “Preferences.”
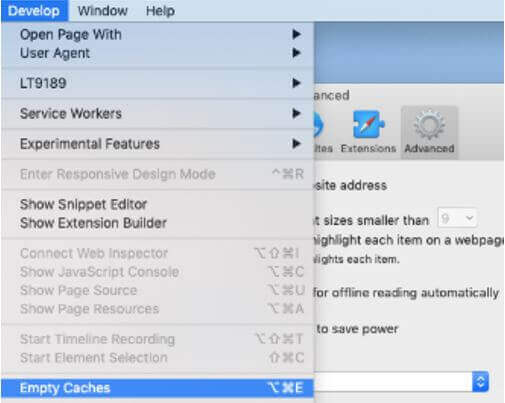
- A new window will appear. Select the “Advanced” tab and then click on "Develop". Within this drop-down menu, select the option to “Empty Caches.”
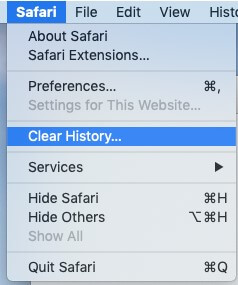
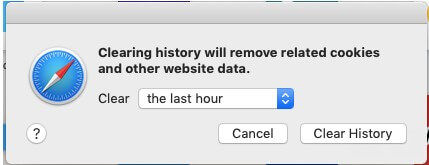
- You may also want to clear your internet history and website data. To do this, select “Clear History” in your Safari browser. Select the time range and then select “Clear History.”
- Access cPanel by using the following URL: username.gucsdept.com (Replace “username” with the username you were given in your cPanel email.)
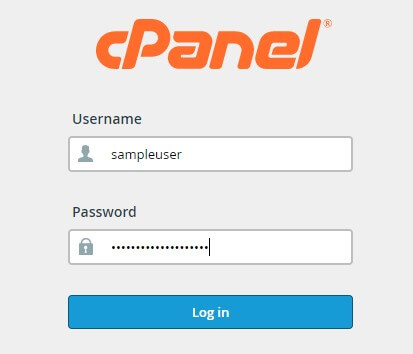
- Log in with your provided credentials. You will be prompted to change your password after your first log in.
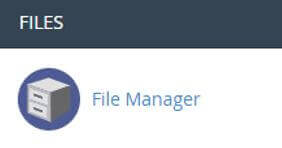
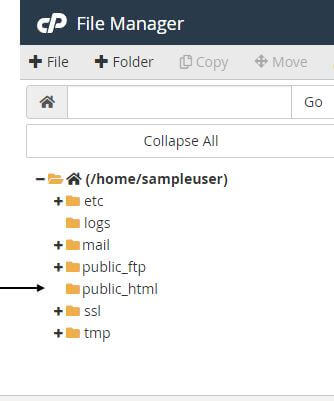
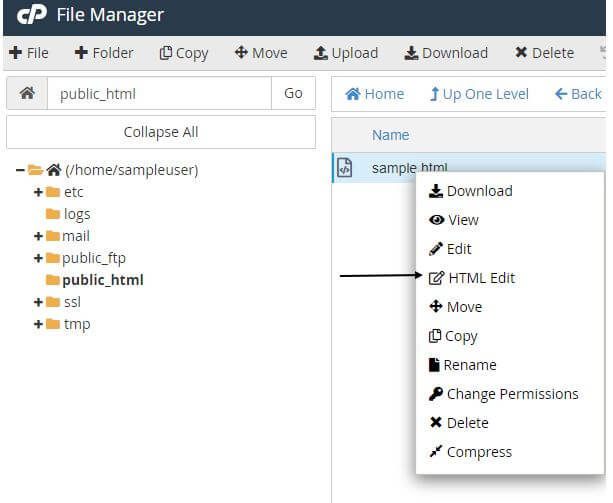
- Click on “File Manager.”
- Once in your file manager, select the “public_html” folder.
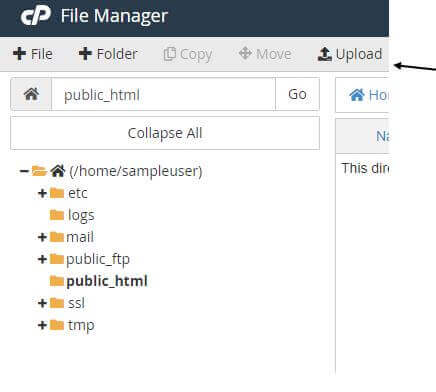
- Click on “Upload.”
- Click on "Select File." This will allow you to navigate and select your html file.
- Once selected, a progress bar will appear. The file has been uploaded when the bar displays 100% completion.
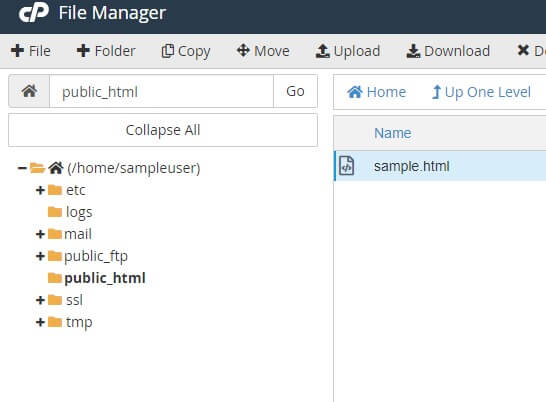
- To confirm the URL for your file, return to the public_html folder. Your recently uploaded file should now appear.
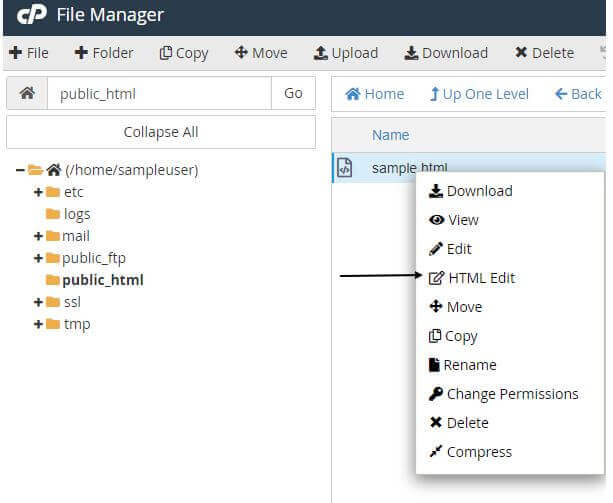
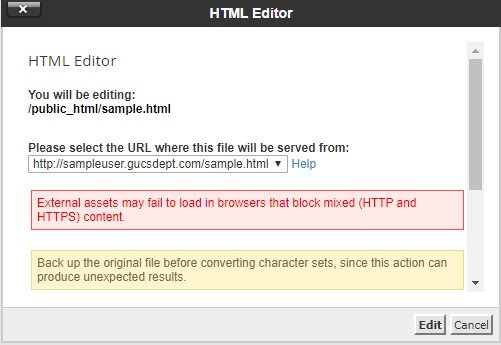
- Right click on your file and select “HTML Edit.”
- Note the provided URL for the file and click “Cancel” to return to your file manager.
- Open a new browsing window and type the URL into your address bar. You can now confirm if the file and URL are properly working.
- Navigate to the student portal (GLife).
- Log in to the student portal.
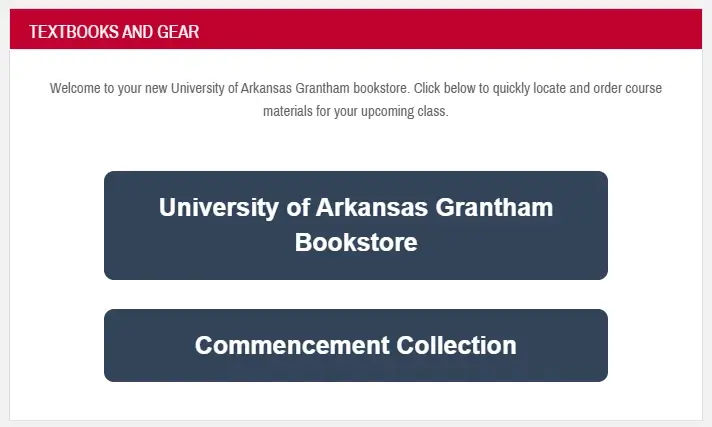
- Scroll down to the section called "Textbooks and Gear."
- Click the button called "University of Arkansas Grantham Bookstore."
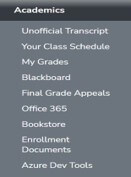
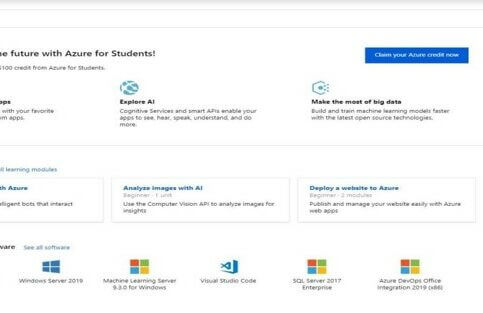
1. Select the Azure web store from the “Academics” section on the Glife home page.
2. You may be prompted to log in to your Office 365 account. Once you have logged in, you will be shown the homepage for Microsoft Azure.
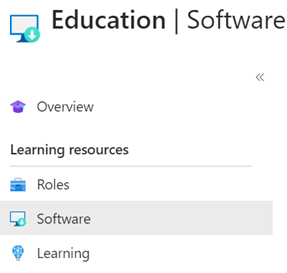
3. Select “Software.”
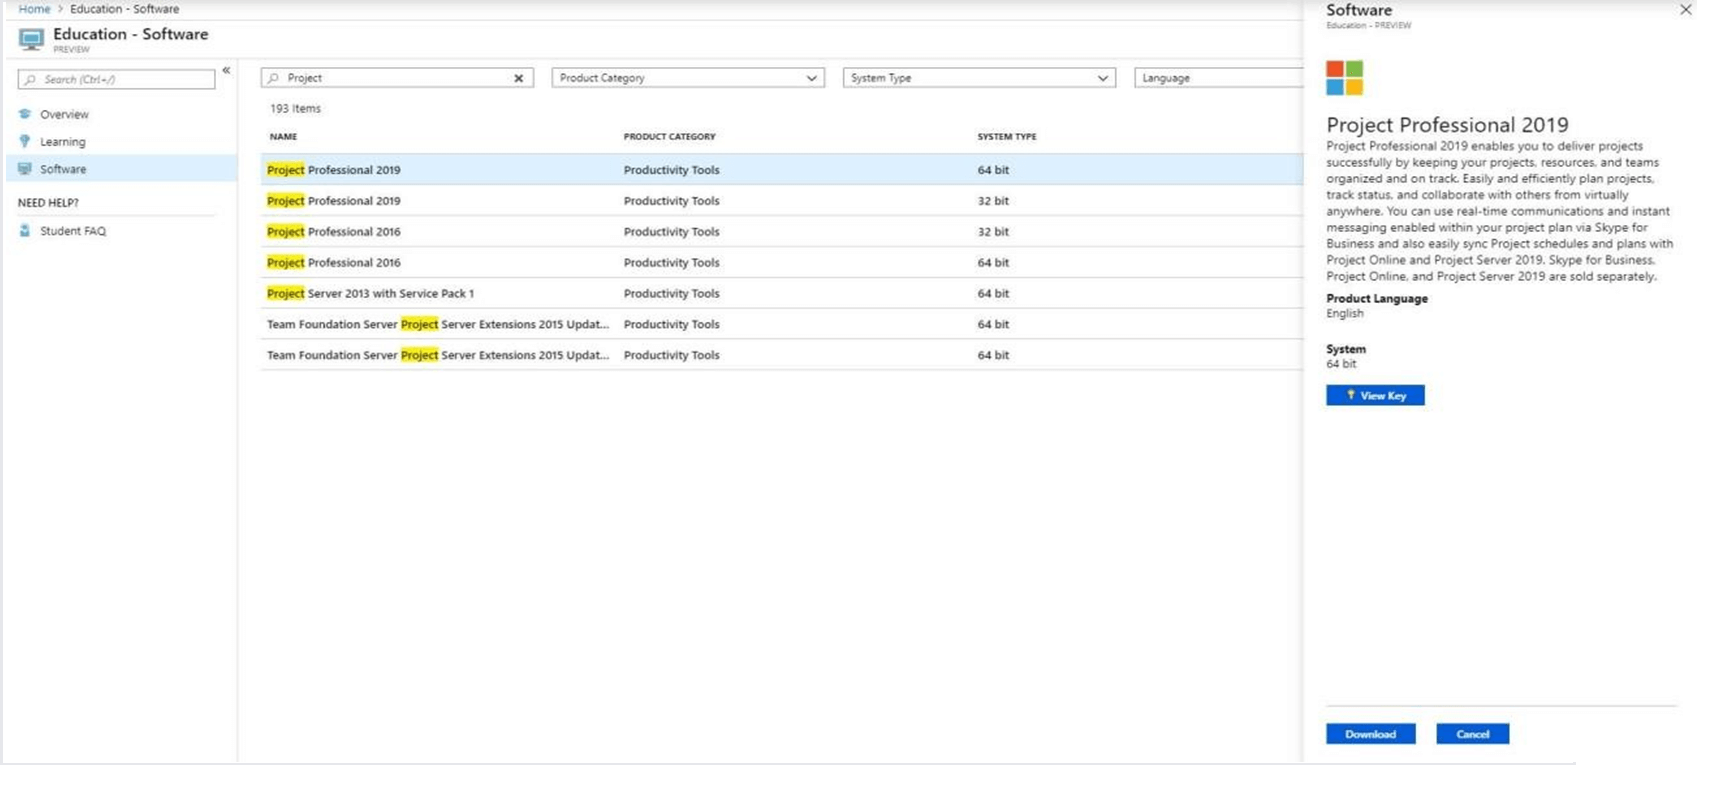
4. Once in the software menu, you may search for your software.
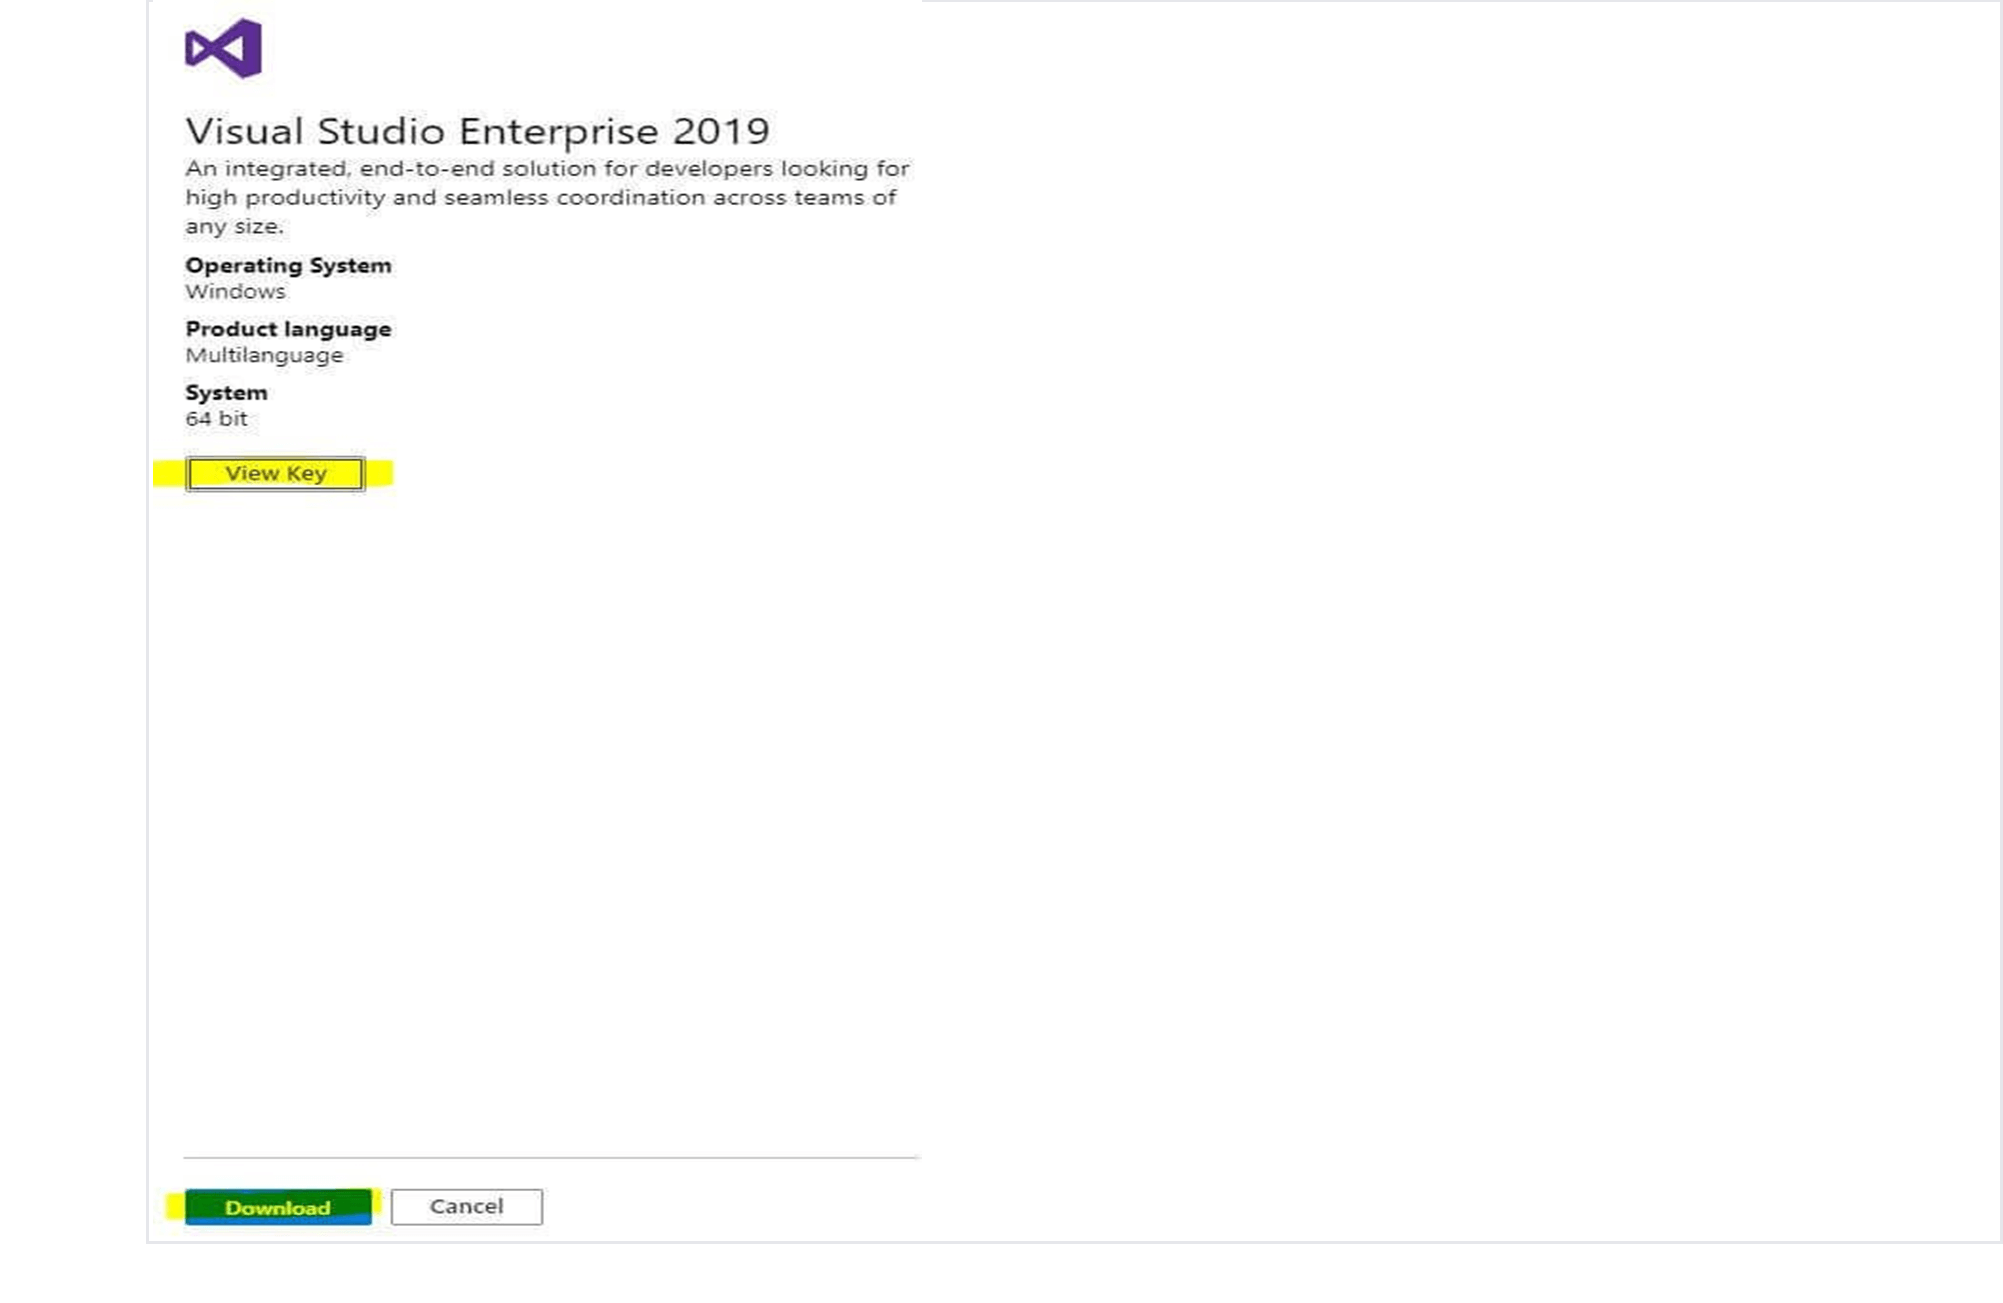
5. Select your software and you will see a new window. This window will contain both a download link and an option to view your key code.
6. Click “Download.” Once completed, you may install your software and activate it with your provided key.
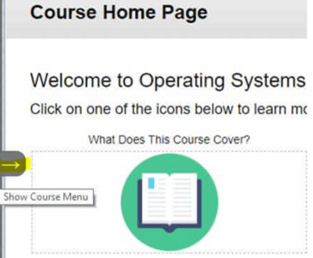
If you are using an original format Blackboard course but cannot see the left-side menu (see screenshot below), you may need to toggle the menu.
1.Hover your on the left side of the course to make the toggle arrow appear.
2.Click the toggle arrow to make the menu appear. Additionally, you can click the arrow again to hide the menu.
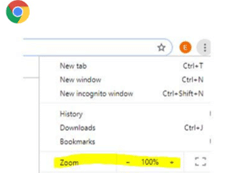
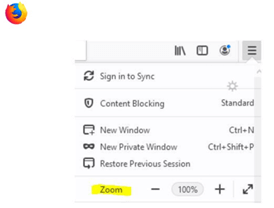
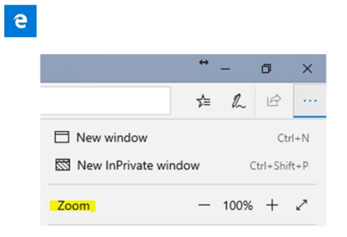
Note: If you followed the steps above and do not see a toggle arrow, you may need to decrease the zoom on your browser. This can be found in the following locations.
Google Chrome (Using version 75.0.3770.142)
Firefox (Using version 68.0.1)
Edge (Using version 44.17763.1.0)
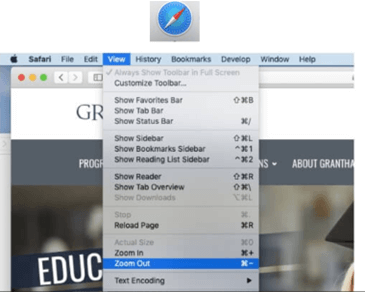
Safari (Using version 12.0.3)
1. Using your device, access the appropriate online store such as the App Store or Google Play.
2. Search for Blackboard and install the app on your device. You can identify the Blackboard app with the following symbol.
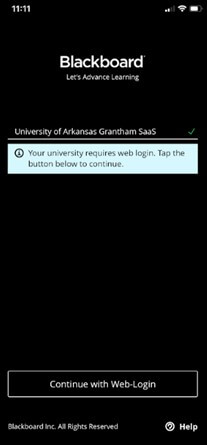
3. Open the app and type in Grantham for the institution name. Select University of Arkansas Grantham SaaS
4. Select “Continue with web login”
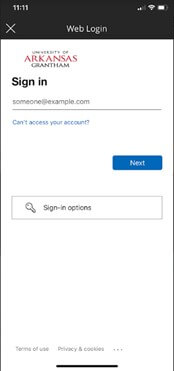
5. Sign in with your Microsoft credentials.
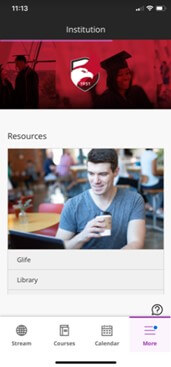
6. You will now be logged into your Blackboard Account
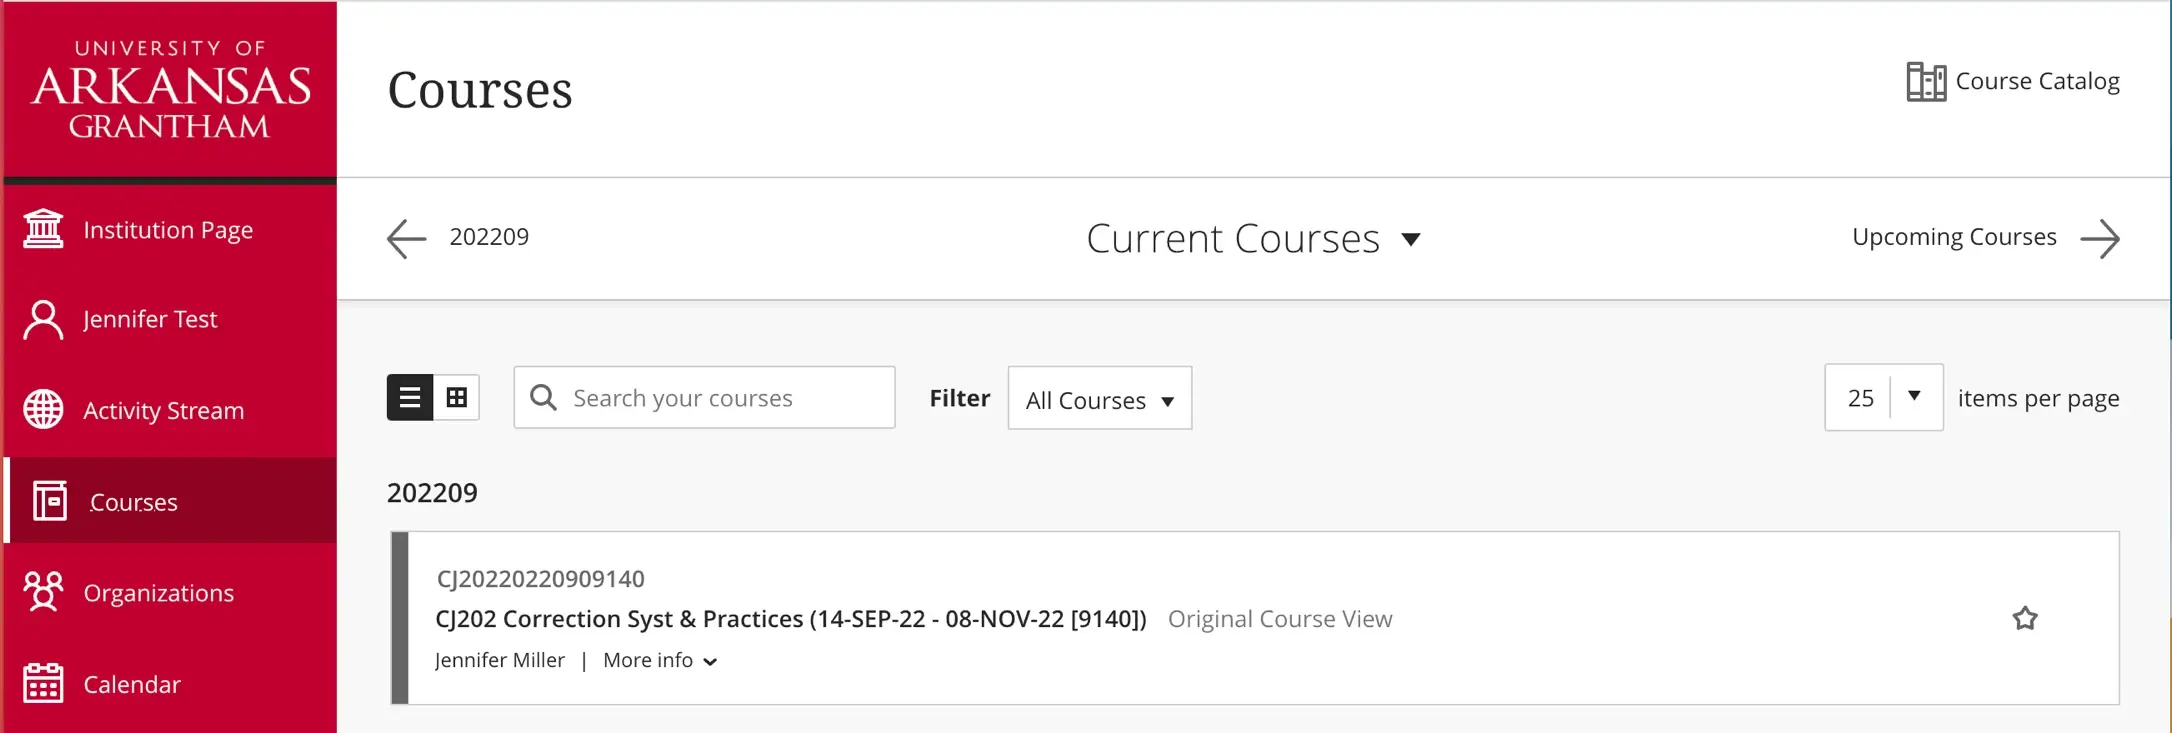
- Select your course from the "Current Courses" and click on the course name.
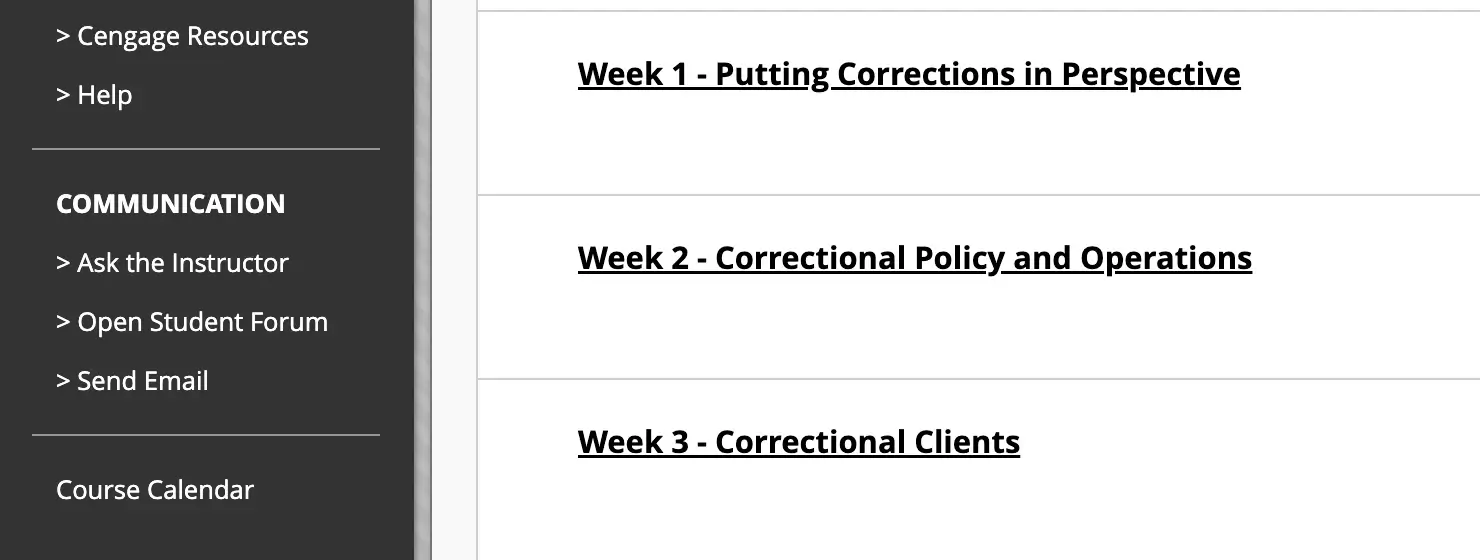
- Within the course, click on the "Weekly Content" link
- Click on the weekly link you are currently working on.
- Once you are in the weekly folder, scroll down to you locate the desired assignment and click on the assignment link to open the assignment.
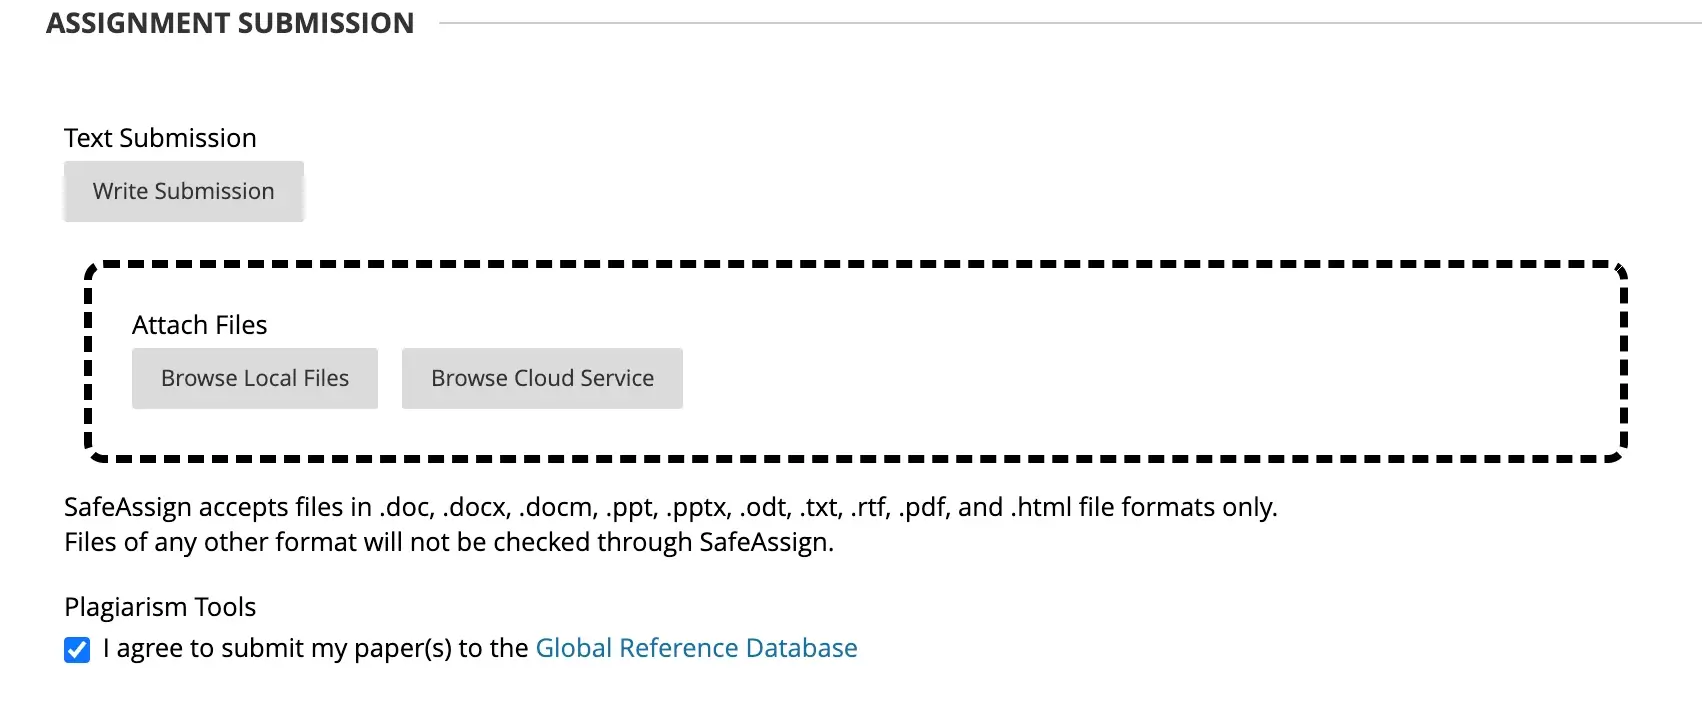
- Select "Browse Local Files". Navigate to your assignment on your computer and select it for uploading. Once uploaded, select the box next to "Plagiarism Tools" to submit your paper to the global reference database.
- Click on "Submit". Once the submission is finished, you will be taken to a new page confirming your submission.
- There may be times where you must submit an assignment again (e.g., uploaded an incorrect file). First, access your assignment by following steps 1 to 4.
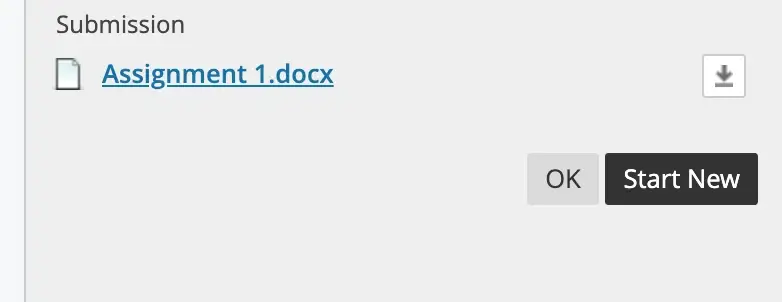
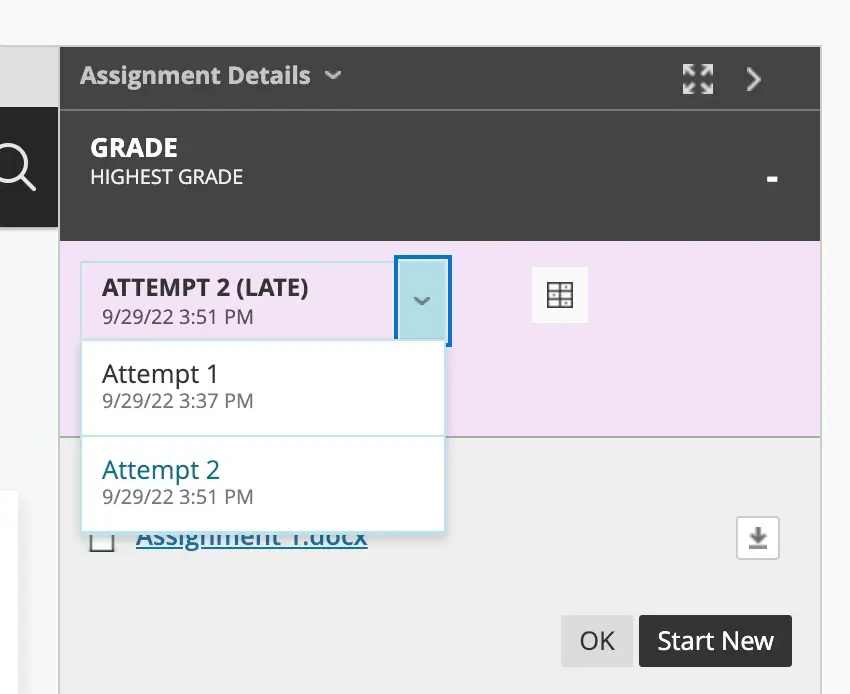
- You will be directed to a preview page of your previous assignment submission. Click on "Start New" to submit an additional assignment attempt.
- When you click Start New, you will be directed the Step 5 where you will be able to submit your second attempt.
- Please note that not every course will accommodate multiple attempts. If you do not see the "Start New" button, please communicate with your instructor to find out if you can submit more than one attempt.
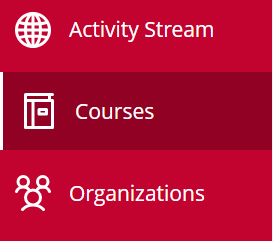
1. Once you are logged into Blackboard, click on the courses option on the left hand side.
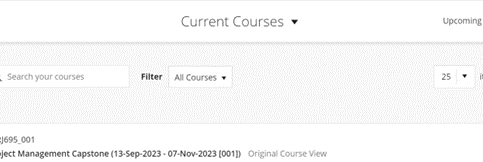
2. You will now see your list of courses. To change your course view, click on the “Filter” drop down menu.
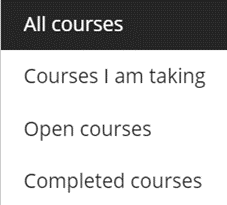
3. You can now switch your view to one of several provided options.
4. Select your view and your course list will change depending on the option selected.
 Chrome
 Firefox
 Edge
Edge Safari